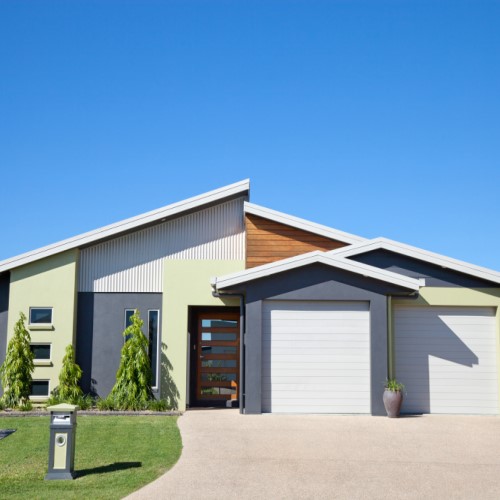
The exterior is the first impression your home gives to your family and friends.
To make it easier for you to paint and to ensure the colour you picked appears as you expected it to, it’s important to adequately prepare your exterior surface for painting.
Estimated Time
An hour to a day (24 hours)
Depends on wall size and the amount of flaws it has
What you're going to need
-
Drop cloths, plastic and canvas
-
Bucket of Sugar Soap
-
Sponge
-
Bleach
-
Scraper
-
Pre-mixed filler, exterior
-
Gap sealant, exterior
-
Filling blades
-
Sand paper 180 & 240 grit
-
Painter’s masking tape
-
Step ladder
Step-by-step guide
-
Temporarily remove pot plants, garden hoses and any other items in close proximity to exterior walls.
-
Wash walls with Sugar Soap and a sponge (following label directions) to get rid of any dirt or grime. Then hose down and allow time to dry. This will ensure the paint will adhere to the wall and not the dirt or grime.
-
If any mould is present, use a bleach solution to remove it from walls. Bleach solution to be roughly 1 part bleach to 3 parts water or as per label directions. Ensure the Manufacturer Personal Protective Equipment requirements are followed. Carefully apply the bleach solution to walls using a sponge and leave to soak for 15 minutes. Rinse thoroughly and again, allow them to dry completely.
-
Make sure plants and ground near the walls are covered with plastic or canvas drop cloths, so as to not cause damage.
-
Assess the walls for any damage or surface lumps and bumps.
-
If there is any peeling or flaking areas, scrape them to remove the loose paint then gently sand the surface down.
-
Fill any dents or nail holes in the walls with a pre-mixed exterior grade filler, using filling blades.
-
Use acrylic gap sealants for cracks or gaps in areas where there may be movement e.g. near doors and windows. Be sure to use paintable sealants, not silicone, on areas you wish to paint.
-
Once the fillers and sealers have set, sand down these areas, excluding gap sealant. Only powder fillers can be sanded. Gap filler is applied as a smooth finish and sanding it can tear it. While you’re there, sand down any rough or shiny spots to improve adhesion and finish.
-
Spot prime the filled areas with WeatherTough®.
-
To finish, apply painter’s masking tape to fittings which can’t be removed and around edges which may be fiddly and difficult to paint around, such as trims, windows and doors.
Tips
-
To avoid exterior paint blistering or flaking over time, test the existing paint for adhesion before repainting. Cut an ‘X’ through the old paint with a scraper or blade. Apply painter’s masking tape over the ‘X’ and firmly apply pressure. Remove the tape in a swift motion. If old paint appears on the tape or lifts on the edges of the ‘X’ cut when the tape is removed, it will need to be removed prior to repainting.
-
For a really effective finish, apply an additional coat of WeatherTough® to the entire wall. This allows for good adhesion and blocks out dark or existing colours, making it easier to paint over and providing a smoother, more professional looking top coat. Remember, you’ll need to add a few more materials to the list to complete this step. You’ll need:
-
A 230 or 270mm paint roller frame
-
A matching roller cover with a 9-12mm nap
-
A matching paint tray
-
A roller pole
-